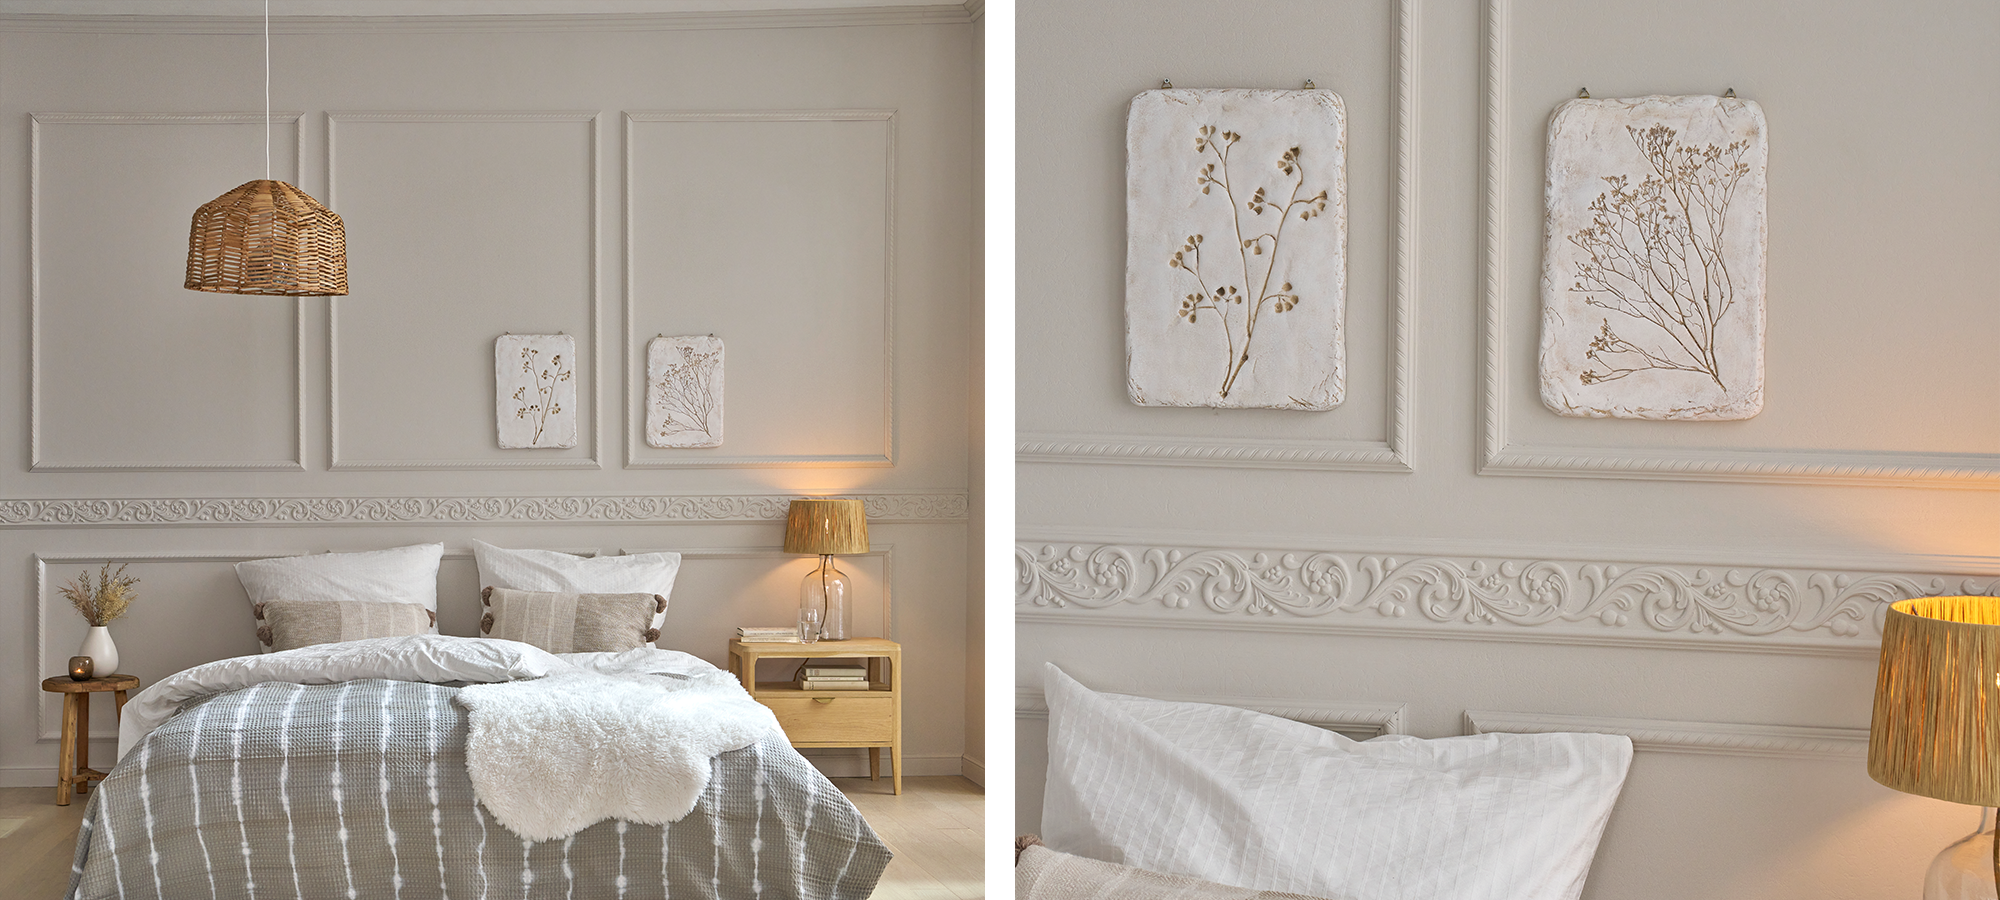
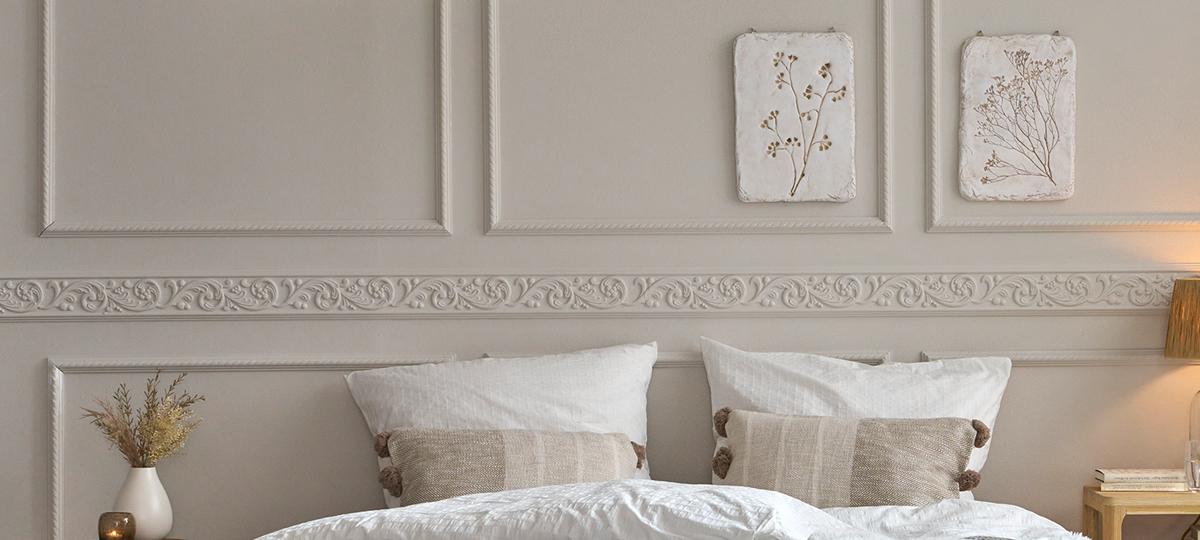
Autumn makeover – cosy bedroom wall design with decorative mouldings from decoflair
While the leaves outside glow in warm colours, you can also create an autumnal atmosphere indoors – with a fresh new look for your walls!
With a few simple steps and the right decoflair decorative mouldings, you can transform your bedroom into a cosy space of well-being. Here are our step-by-step instructions for your autumnal wall makeover.
What you’ll need
Essential decoflair items
- decoflair CO1 chair rails
- decoflair F19 chair rails
- decoflair C3 skirtings
- decoflair D8 cornices
- decoflair CM500 glue
- decoflair MB2 mitre box
Other must-haves
- Cartridge applicator gun
- Large tooth saw or mitre saw
- Line laser or spirit level
- Folding rule
- Pencil
- Paint in the colour(s) of your choice
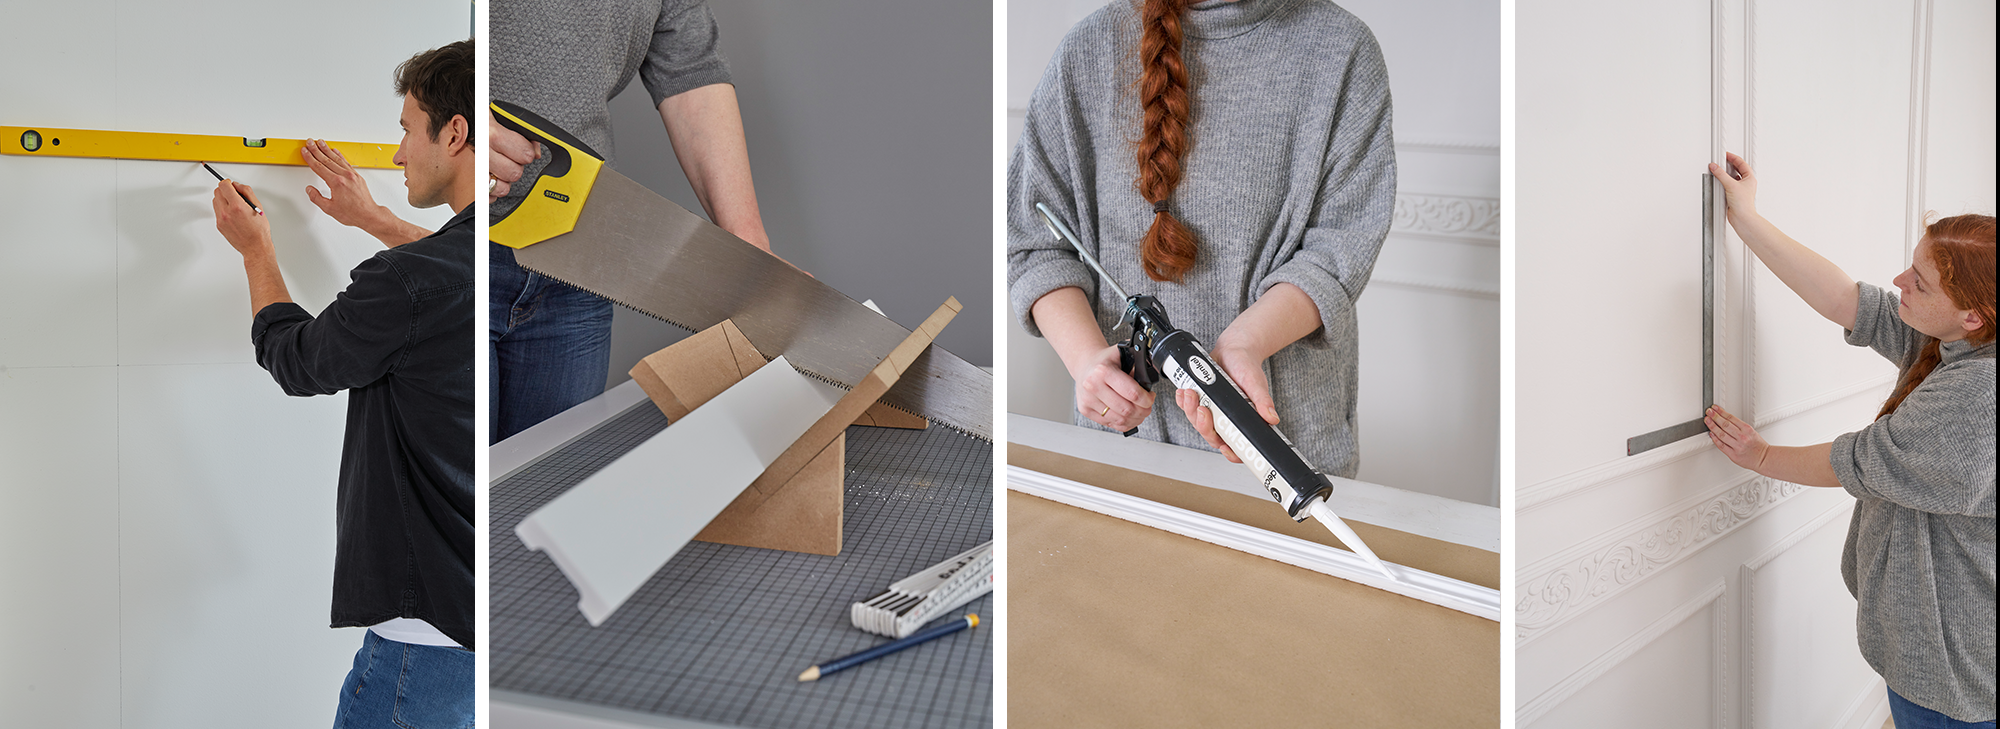
Step 1: Plan the layout
Before you begin: check that you have everything you need and measure your wall space. Using a line laser or spirit level, you can easily mark the desired position of the mouldings on the wall with a pencil.
Step 2: Cutting and gluing
Now it's time to get crafty: cut the mouldings to size using a large tooth saw or mitre saw. Then apply the glue to the back using a cartridge gun and press the mouldings onto the wall – light pressure is enough.
Step 3: The finishing touches
As long as the adhesive is not completely dry, you can still adjust the position of the mouldings. Any excess glue can be easily wiped off with a damp cloth.
Step 4: Apply paint
After allowing the glue to dry for approximately 6 hours, you can paint the decorative mouldings in the colour of your choice. Then simply leave them to dry – and voilà: your bedroom has a new, autumnal look!
Would you like more detailed instructions? Then visit our YouTube channel, where we show you step by step how to install our decorative mouldings like a pro. You can find even more inspiration in our other blog articles and on our Instagram channel. And once you've recreated your autumn makeover, feel free to tag us with @decoflair – we can't wait to see your projects!