Get ready for spring with a wall upgrade using decoflair products
Are you looking for an excuse to change your interior decor? We’ve got one for you: spring is here!
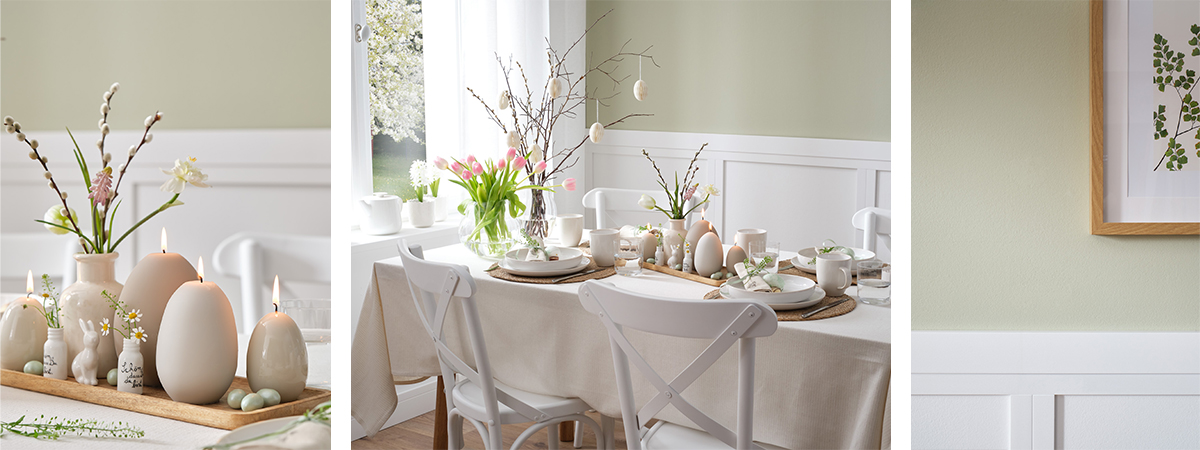
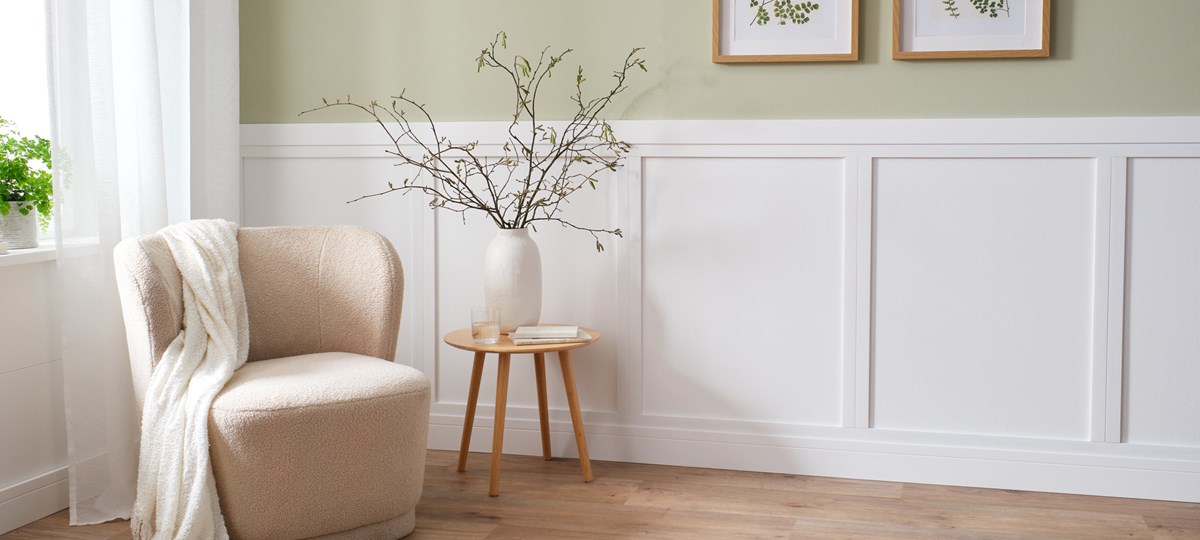
With the return of pastel colours, trees blooming and the sun coming out, the perfect moment to redesign your walls and give your rooms a refreshed look has arrived. And with decoflair decorative mouldings, this can be done in no time at all.
Here is a step-by-step instruction to help you transform your walls from a plain surface to a stunning statement with a new texture.
What you'll need
For every successful remodelling, you need to make sure that you have everything you need to start your project.
Essential decoflair items
- C19 chair rail
- C9 chair rail
- C12 skirting
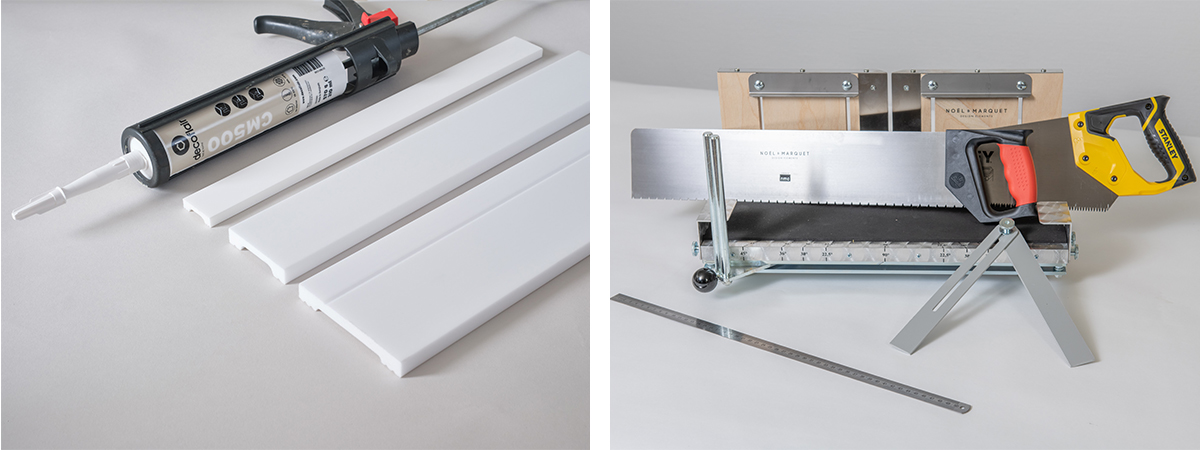
- decoflair CM500 glue
- MB2 mitre box
Other must-haves
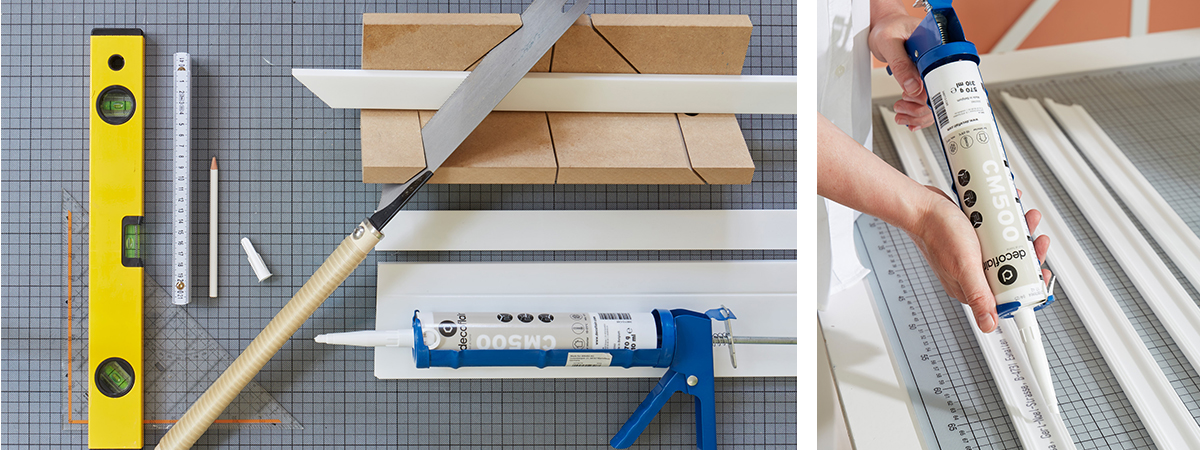
- Cartridge applicator gun
- Large tooth saw or electric saw
- Line laser or spirit level
- Folding rule
- Pencil
- Paint in the colour(s) of your choosing
- Paint brush
Now, let’s get to it.
STEP 1: plan your layout
First, make sure to have all the material you need and the right measurements for your project. To do so, you can use a line laser or a spirit level and sketch out the positions with a pencil. If you want to paint the wall above the mouldings, you can do so afterwards.
STEP 2: cut & glue
Second, cut the mouldings and the skirtings at the desired length with a saw. Next, apply glue on the back of the profiles and hold them against the wall. Press lightly to make sure they stick. We advise you to start the installation with the C12 skirting, using the C19 as frames and finishing it off with the C9.
STEP 3: Make the finishing touches
As long as the glue is not dry, you can correct the few imperfections by rectifying the position of the profiles and by wiping excess glue with a cloth or piece of fabric.
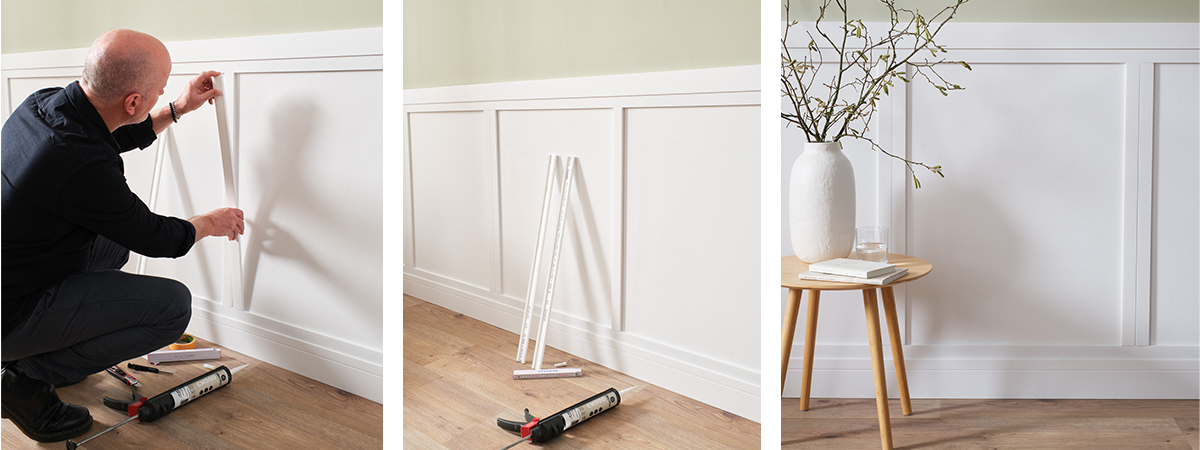
STEP 4: Paint it in the colour of you choosing
Once the profiles are installed and the glue is dry (at least 6 hours drying time), simply paint the installation in the colour of your choice. Apply tape just above the profiles on the wall to ensure a clean finish.
Now, let it all dry and you’re done! In just a few easy steps, your walls have been given the spring upgrade they deserve!